Tuesday, April 7, 2020

NEW in the Pantograph Library


I am slowly adding images of my pantograph library for customer review. Here are two I added today. Hover over the Quilting tab on my homepage and then click on Pantographs . Now I’m off to quilt out the Flower Child one!


PERLE EDGE TO EDGE 
FLOWER CHILD

Thursday, April 2, 2020

Hearts in the Window - Free Pattern


Hearts in the Window 

Finished Size:  Approx. 24" square

This quilt was created from my stash during the 2020 Covid-19 pandemic.  There was a worldwide display of "hearts in the window" started by an unknown person as a way for quarantined citizens to show gratitude to front line workers (health workers and essential services).  I like fabric way more than paper so I created my heart as a quilted wall hanging.  In that same spirit, I'm offering this pattern for free.  Please do not share the pattern but instead send people back to my blog to download their own copy.  Thank you.  Mavis Reynolds


This pattern was designed using my Accuquilt GO cutter but this is not mandatory.  Alternate instructions are provided.

Yardage:

1/2 yard of floral

1/2 yard of background

1/2 yard of border fabric

Cutting:

Cut 37 background squares (2 1/2")

Cut 68 floral squares (2 1/2")

Cut 3 strips 2 1/2" wide x width of fabric from background fabric

Cut 4 strips 3 1/2" wide x width of fabric from border fabric

To make pieced squares:


Cut one 2 7/8" square of each of your background and floral fabrics.  With right sides together draw a diagonal line from corner to corner and sew a scan quarter inch on either side of the line.  Cut along the center line.  Open and press to the floral.  These two half square triangle squares for for the top left and top right corners of the quilt top.  Pay attention to the orientation so that the floral fabric faces towards the center of the heart.

Cut 4  2 1/2" x 2 1/2" squares from each of the floral and background fabric.  With right sides together, sew them in pairs one floral to one background piece.  Press towards towards the floral.

Trim 2 of these units to 2 1/2" like this so that the smaller piece (approximately 3/4") is the background and the rest is the floral).  These blocks create an illusion of a taper towards the bottom of the heart.


Trim the remaining 2 units so that they are equally background and equally floral and finish at 2 1/2".


Sewing:

Using the remaining 2 1/2" squares follow this layout and sew the quilt top together in chunks as follows and then join the chunks together.

Top Left chunk

Top Middle

Top Right Chunk

Bottom Left Chunk

Bottom Middle

Bottom Right Chunk

Joined chunks
Borders

Add the background fabric borders to the top and both sides of the quilt top.

Add the outher borders to all four sides of the quilt top.

Quilt, bind and enjoy!  Oh...and hang it for others to enjoy as well! 

© Mavis Reynolds & Dayspring Quilt Studio, 2020

All rights reserved.  This pattern may not be copied or reproduced in any manner whatsoever without written permission from the designer.

Thursday, March 19, 2020

International Quilting Day - March 21, 2020

Celebration Day is almost here! International Quilting Day is always the third Saturday in March and this year falls on March 21st. The usual celebration you might expect to find is groups of quilters gathering together to sew on their projects or charity projects. Some join online challenges and mystery quilts. Others go to quilt shops to support the small businesses in their locations and their vacation destinations. How many times have you seen requests on online groups that go something like this: "I'm going to be visiting Las Vegas next month. Where are the quilt shops?" A time or two right?


This image has an empty alt attribute; its file name is IMG_1106.jpg

Last year I had an idea that on International Quilting Day in 2020 we should celebrate by hanging quilts outdoors. I guess the basis of the idea came after visiting Sisters, Oregon twice for their annual Outdoor Quilt Show. It has become a vacation destination for quilters, quilting groups and some good natured significant others. Quilters get on board with events that focus on their passion of stitching with love. Quilt Shops organize shop hops under the banner Worldwide Quilting Day on the same day to encourage people to support local quilt shops.

I thought, "what if we hang quilts outside, and ask our friends to do likewise, and they ask their friends, and so on and so on. Wouldn't it create some curiosity? Wouldn't it add some colour to our yards? Wouldn't it tell our neighbours that we love our craft? And that is how it all began.

This image has an empty alt attribute; its file name is IMG_3646-1024x768.jpg

I then created a Facebook event so that there would be one place online where people could find out information about the event. From there I shared with some online quilting groups. I had very enthusiastic responses and decided I might be on to something. Then it went viral.

The idea has grown and taken on a life of its own. Then arrived the Covid-19 pandemic with social isolation protocols announced and social distancing becoming the new buzzword. School is out for spring break but then on hold thereafter. Restaurants are closed except for takeout. Grocery store shelves are bare. Streets are empty. While sporting events and other gatherings are being cancelled, including our Victoria Quilters' Guild 2020 Quilt Show the first weekend in June, this project suddenly became something that quilters could do, hang their quilts outdoors at their residences, to add some colour to their neighbourhoods, despite our new restrictions. My last week has been spent on promotion in our local media, producing a driving map for my city, and answering social media enquiries. By the number of pings on my phone, it seems the world has realized that we can still get in our cars and maintain social distancing and yet do something fun this Saturday.
Let's go see some quilts and take pictures and post them! You will undoubtedly see bed quilts, traditional quilts, modern quilts, baby quilts, and art quilts. You will likely see them on railings, in trees, on benches, on the sides of buildings and hanging in windows.

Here is the link to an interview on Tuesday this week which aired on our local news channel: https://vancouverisland.ctvnews.ca/video?clipId=1924052

Here are the locations in Greater Victoria, British Columbia where there will be quilts hanging on March 21st:

https://www.facebook.com/notes/victoria-quilters-guild/international-quilting-day-2020-quilt-tour/2563512483933516/

I would love to see the Internet filled with pictures of the quilt spottings! (Hashtags would be appreciated: #internationalquiltingday2020 #internationalquilthanging2020 #hangaquilt) Let's brighten someone's day. Let's help them remember their friends and family members who may have quilted and gifted them one. Let's help the cancer patients and NICU parents remember the love expressed by these caring strangers who donated to them in their time of need. Let's do what we do to show tangible love and comfort in these uncertain times. Let's wrap the world in quilty hugs.

Mavis (aka Dayspring Quilter)

Sunday, February 9, 2020

A funny thing happened in the wee hours ...

Last night was sleepover time for my grandson who will be 3 in July.  Since we downsized in 2015, my sewing room is also the laundry room which was converted from a bedroom before we bought this house.  It has great storage with two closets and a counter on top of the washer and dryer which was why I claimed this room before the ink was dry on the contract!

It also still serves as a bedroom for the wee man when we have sleepovers or naps during the day if I'm babysitting.  We use his playpen and put it in the middle of the room.  Trouble is his arms are growing in length.  Imagine me finally enjoying some peace and quiet last night when I then heard "thump, thump, thump".  That was the distinct sound of the wool dryer balls tumbling in the now turned on but otherwise empty dryer.  He's a smart kid but Grandma isn't too dumb either.  So after a chat I moved the playpen further away from the dryer.  Problem solved!   Slumber was enjoyed by all until about 2 a.m.  He doesn't cry (usually) when he gets up in the night but he does chat, laugh and jump in his playpen. Party time!   So I decided to attend to the little monkey to avoid waking the rest of the house (too late).  This is what I saw when I opened the door:
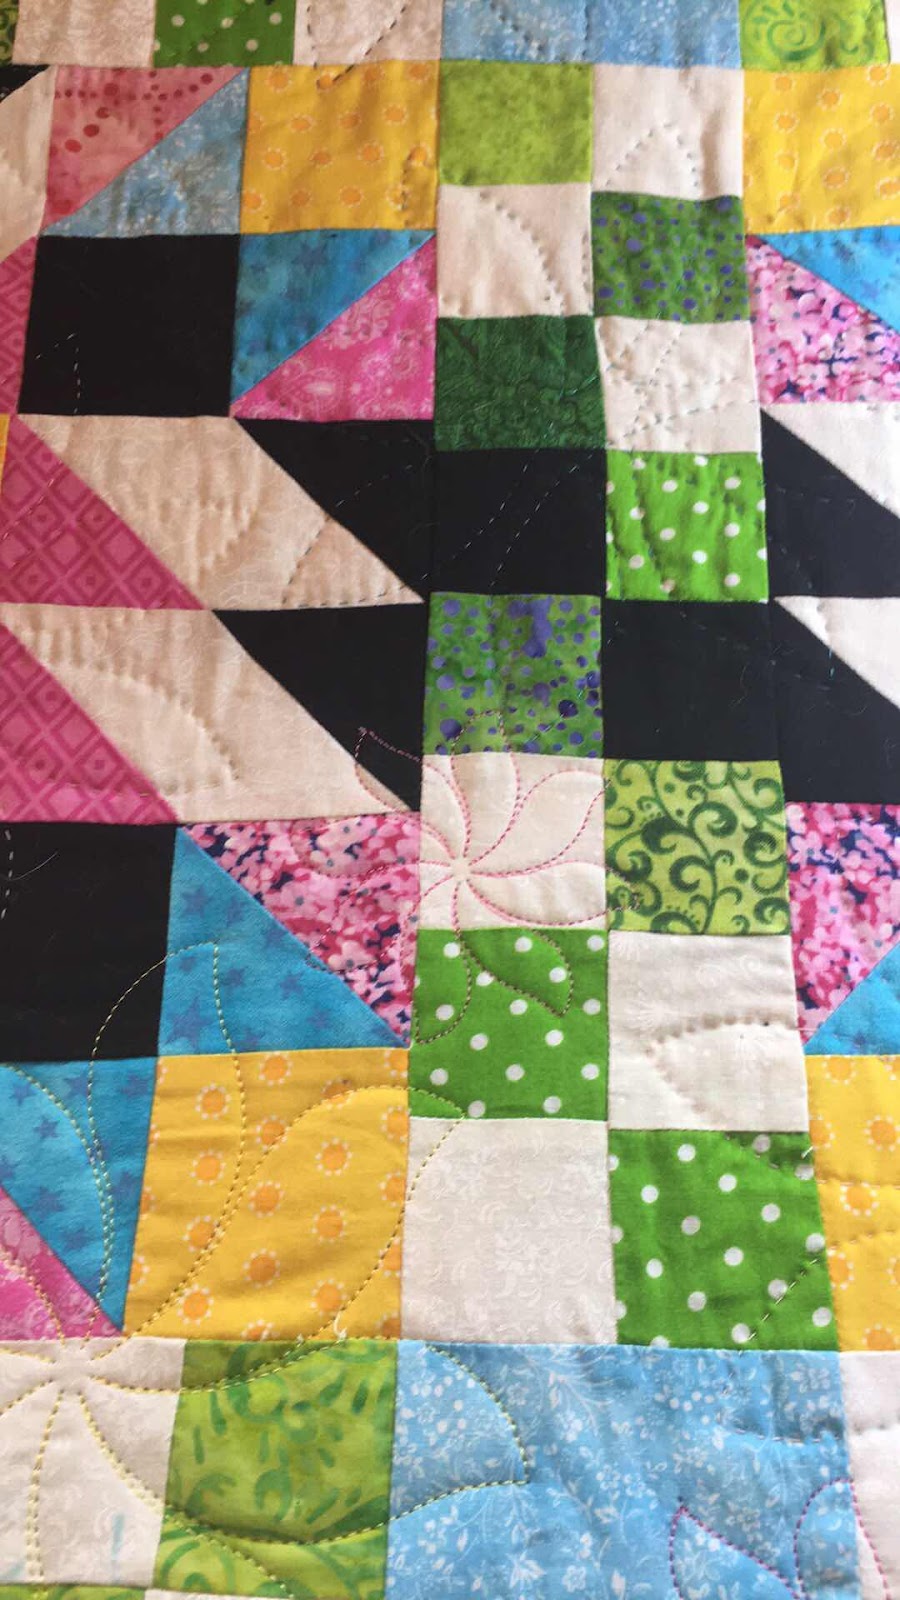

Apparently those long arms can now reach my closet where my scraps are cut and organized into boxes according to size.  This was the nighttime shot.  I didn't turn the light on. I didn't want to wake him anymore than he was already awake.  Apparently he does this most nights at home and eventually goes back to sleep without intervention.  I do not remember my kids waking up in the night as toddlers, but apparently it's a thing.   Little monkey.  I couldn't see what was under this pile.  It was soft so it was probably fabric.  What wasn't soft was the thumping sounds going through the floor to the lower level where someone was sleeping. So I made the rookie mistake of taking him out of the playpen and into Grandma's bed with the promise that he would go back to sleep.  As if!!  

Long story short, he finally fell asleep in my arms on the couch after saying Goodnight Moon to the bright orb making a guest appearance through our livingroom window.  Eventually I made my way back to bed at 5:00 a.m. after he was back asleep.

This morning I had to survey the damage.  Whoa!  That's 2" squares and 2 1/2" squares plus shoebox sized tubs of colours sorted appropriately.  


Together the little boy and I sat on the floor to clean up the mess.  I handed him the "big" ones for the "big" box and the "small" ones for the "small" box.  I hope he learned that when we make a mess we need to tidy it up.

But a funny thing happened in the process.  Grandma got inspired to dig out these squares and use them!  I'm going to design my next pattern based on this fabric vomit on my floor and see what kind of trouble I can get into.  Wish me luck!

Oh...and he's now napping (not in my sewing room LOL) and I'm writing this post.  And then back to sorting my scraps again.

Happy Sunday everyone!  I hope you are also playing with fabric. 💝😃

Until next time,
Mavis

Thursday, January 16, 2020

New pattern release

I confess I have fallen off the blogging bandwagon in a big way.  But today I have something to share that warrants a post.

Today I'm publishing a pattern on my website and in my Etsy shop, the proceeds of which will go to a valuable work with children in Uganda.  Here's the story behind the quilt:


The Story Behind Terry’s Arc
a project benefiting Children Arise, Uganda

Terry is a long time friend and quilting buddy that answered the call to missions along with her husband Andrew.  They sold their home in my city and moved to Uganda to work with children and orphans.  Since their departure in 2014, they have just received news that their adoption of  two Ugandan children has gone through.  They have raised them since toddlerhood.  They are also actively involved in caring for other children at risk as well as single mothers.  They basically have left all the comforts of home to follow the Lord in caring for the “least of these”.

Terry came home on a well deserved furlough last March for about a month while her husband cared for the children.  During her time here we always carve out some sewing days just to hang out and spend some creative time together.  In anticipation of this visit, this quilt was an idea hatched by Terry to make for one of their helpers.  She wanted to make a bed sized quilt, so while I was anxiously awaiting her arrival, I pulled out a jelly roll I had been wanting to use and started playing around with her idea.  This quilt was the result (in a smaller version).  I told Terry that I would eventually design the quilt on paper (actually in Electric Quilt design program) and that I would sell it on my website with a goal to being able to send the proceeds of any sales to them for their work in Uganda.


Matthew 25:40-45 New International Version (NIV)
40 “The King will reply, ‘Truly I tell you, whatever you did for one of the least of these brothers and sisters of mine, you did for me.’
My quilt done in Orange and White won a second prize in our local Victoria Quilters' Guild quilt show.

Here are the links to purchase:  

And here is the facebook link to Andrew and Terry's work:  

Thank you for buying this pattern.  By doing so you have also helped this valuable work. Please share the hashtag #terrysarc so that we can view your finished quilts. And please share this post.

Mavis

Tuesday, September 17, 2019

What to do when a quilt backing is too short for your quilt

So this happened in my studio yesterday...math isn't my best skill and I readily admit seeking assistance from my math saavy friend when needed.  I had a customer quilt to load and it made use of some leftover diamond pieces to form a star on the back of the quilt.


Quilt back

I think I was so concerned about centering the star on the back of the quilt that I didn't really pay attention to  the measurements I had taken of the quilt back and the quilt top.  She had allowed 4" total backing to the length of the quilt which I know is about half as much as I needed.  But still I didn't catch it.  I knew it would be close but I thought we might have just enough if I was careful at the top.

Firstly to center the back this is what I did:

  1. I marked the center line of the star on the left and right sides of the quilt backing
  2. I marked the center of the top with tape on my takeup roller. So now I had a top and side markers for placement.
  3. I then rolled the backing in the normal fashion.
  4. I added the batting.
  5. When it came time to load the quilt top (Note:  I float my quilt tops), I rolled the quilt back to the middle where my left and right markings were.  I centered the quilt horizontally from that point to see how high on the quilt back I would need to start.  It was going to be tight but I figured I could squeak it out. 


Loaded and ready to quilt!
I happily quilted away knowing there was really no way of predicting just how much backing I would have at the bottom and I told the customer.  I was more concerned than she was.

I got to the second to last row and realized I was about an inch short.  I called my customer to explain the situation and she brought me a six inch strip of the backing of fabric.  At this point you are probably envisioning me unloading the quilt and doctoring up the bottom of the backing right?

Wrong!  I really dislike reloading a quilt once I take it off.  I just find that it's very difficult to line up perfectly again so I pondered my situation over the weekend and yesterday I decided to do unroll the quilt partially so that the bottom was hanging over the front bar of my quilting frame.

This is the point where I realized ... oh oh!


I have a table which is the perfect height so I brought out my Janome, set it up on this high table and added the 6" strip to the bottom of the quilt.  I would sew about an inch and move the table forward.  Sew another inch and move the table forward.  It worked like a charm.


I then used the front roller to press the seam, reloaded the quilt and I was back in business.


I don't know if I broke every rule in the longarmer rule book, but this worked for me and the result was great.  And the bonus was that I only had to reload the bottom of the quilt which kept it straight during the reload process.

Here is the quilt finished.  And a shameless plug:  This is my original quilt pattern called Amish Block Party.  It's available as a download here:  Amish Block Party pattern.


I taught this class in a local quilt store called The Cloth Castle and this is one of my students' quilt.  She did a fabulous job and I had great pleasure in adding the quilting to finish it off.  The panto I used is called "Pearly Weave" and the thread was Glide Mulberry.


I hope this tutorial helps you think outside the box when you need to fix a problem on the fly.

Until next time!

Mavis

Monday, September 16, 2019

Hand Quilting - Choosing your quilt top...lessons learned

Would you say you are a patient person or an impatient one? I think I tend to be more impatient than patient but I’m working on it. .

About this time every year Bonnie Hunter of Quiltville gets ready to release her annual mystery quilt. I always say I’m going to resist, but I never seem to be able to muster up the self-control to do so.

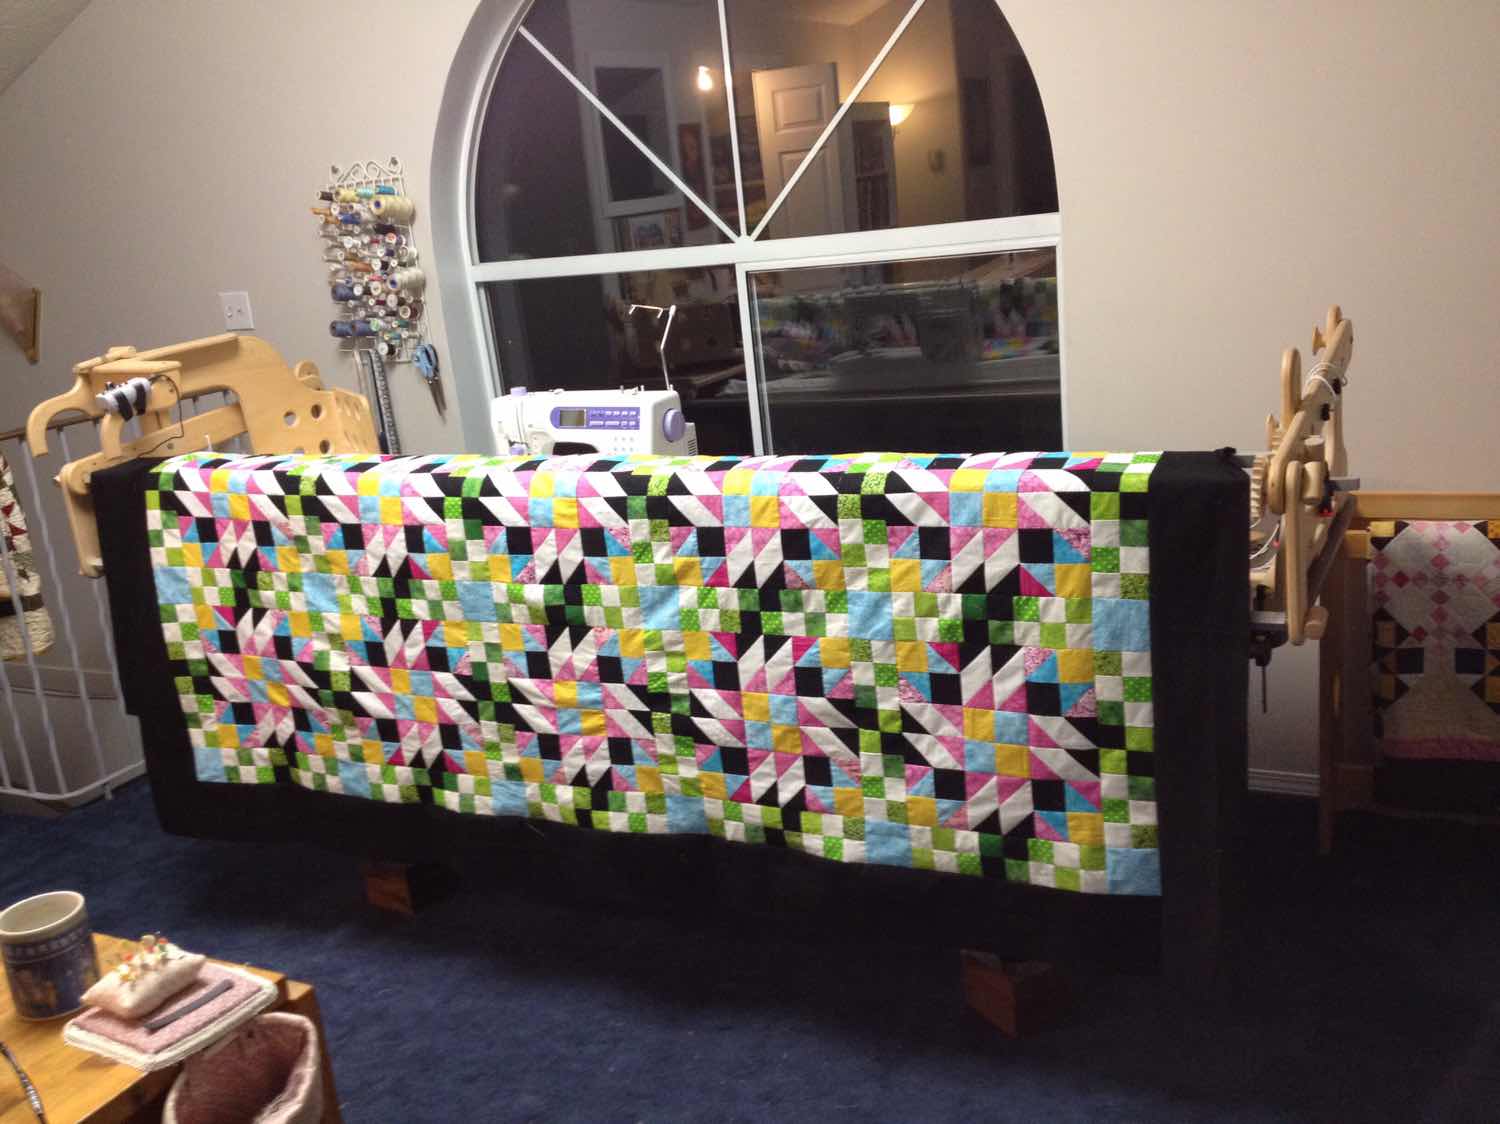
In 2014 Bonnie released her Grand Illusion mystery quilt.  I love Bonnie’s designs, but if I was really honest I’d have to say that this was not my favourite pattern. I ended up doing my own borders because the other ones with the pattern just didn’t ring my bells. 

I was thrilled when I actually finished the quilt top. This was before I had my APQS millennium.  
And I love hand quilting so I decided that I would hand quilt this one.


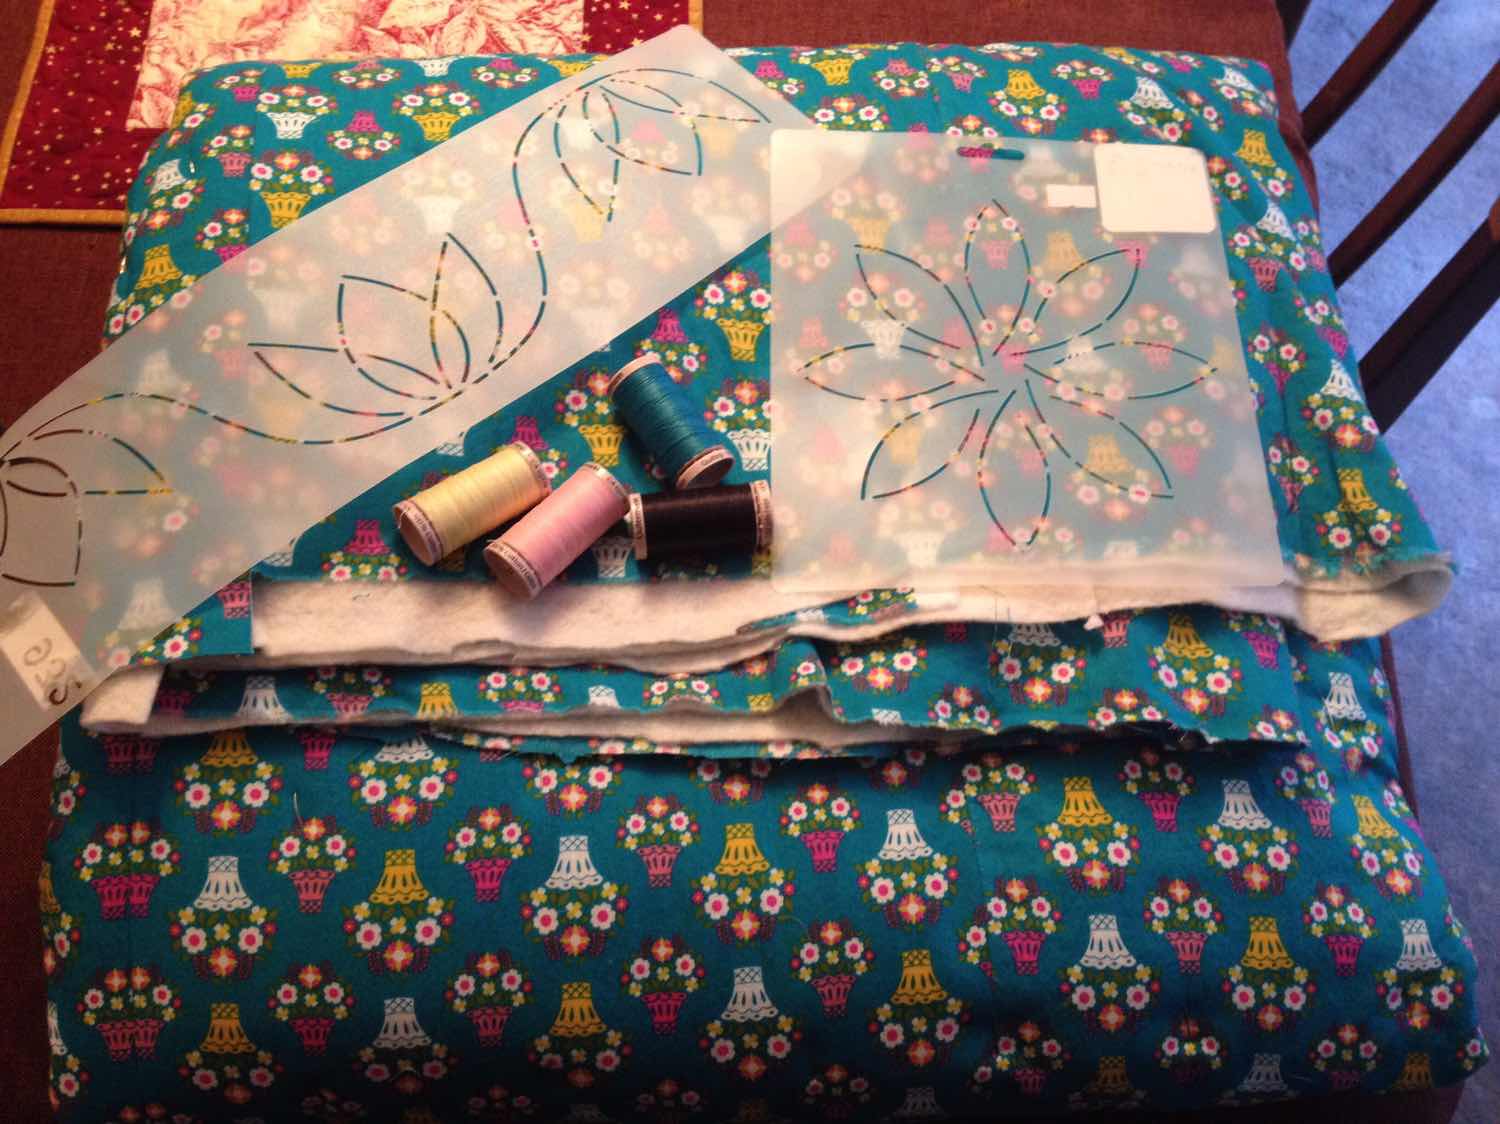
 Hand quilting stencils and thread are ready to go!


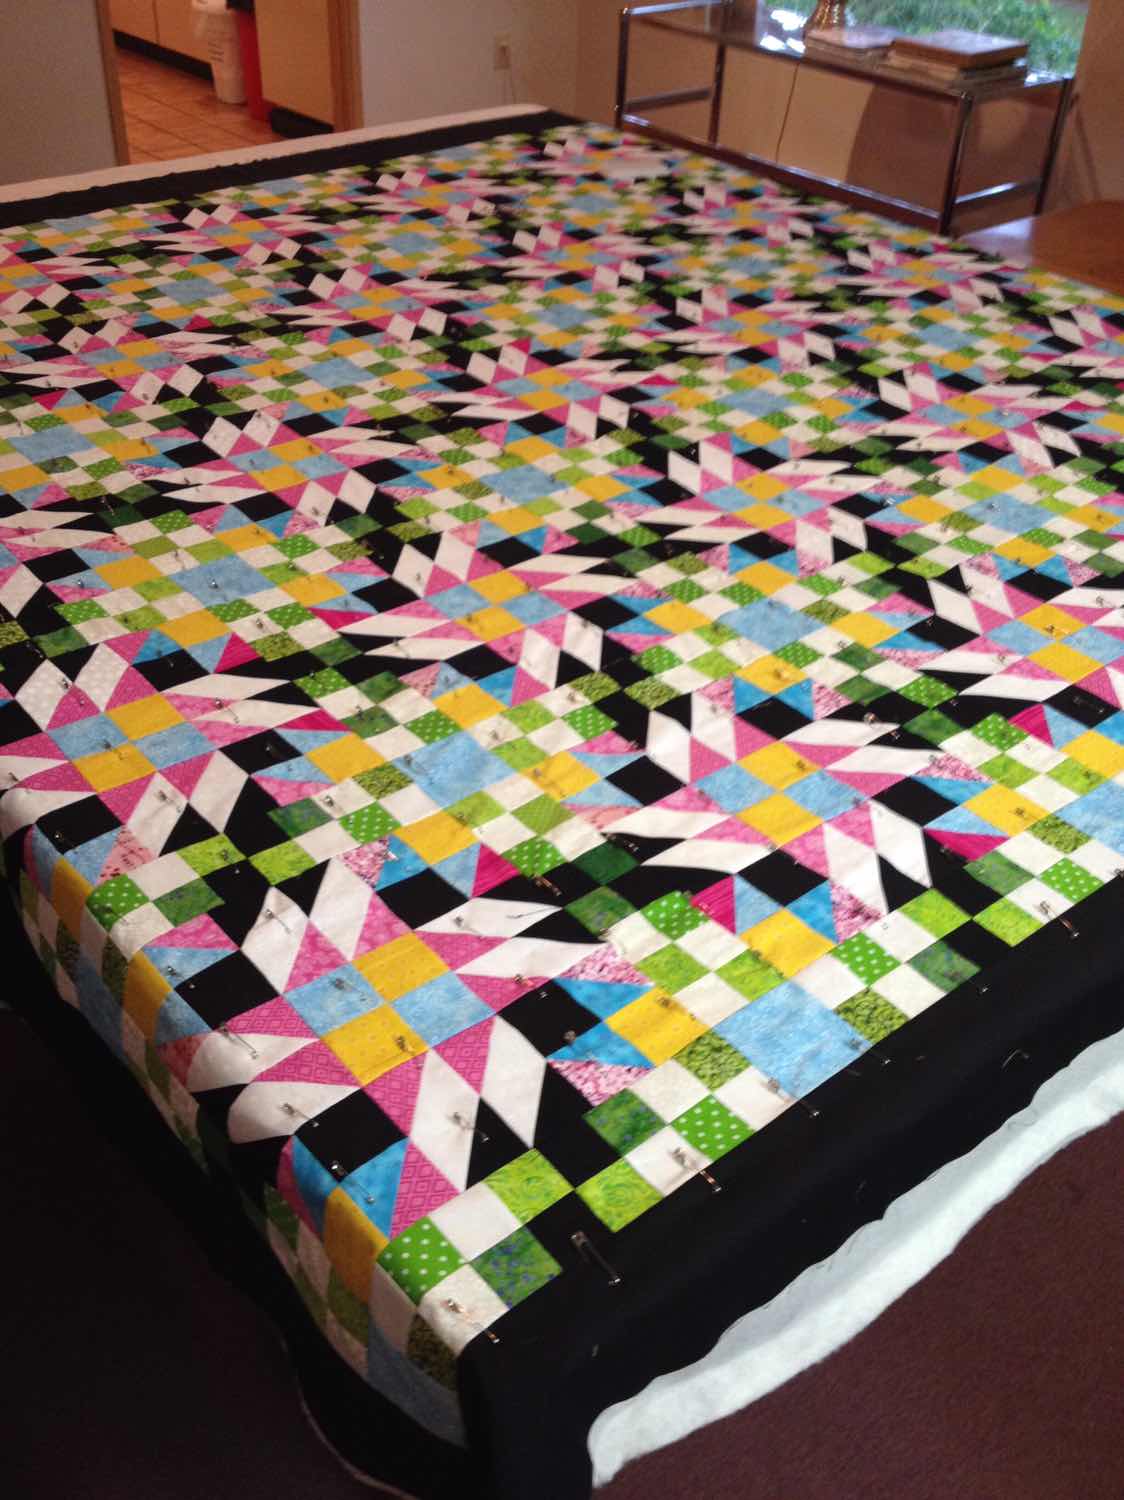
 All pin basted  and ready for the hoop.


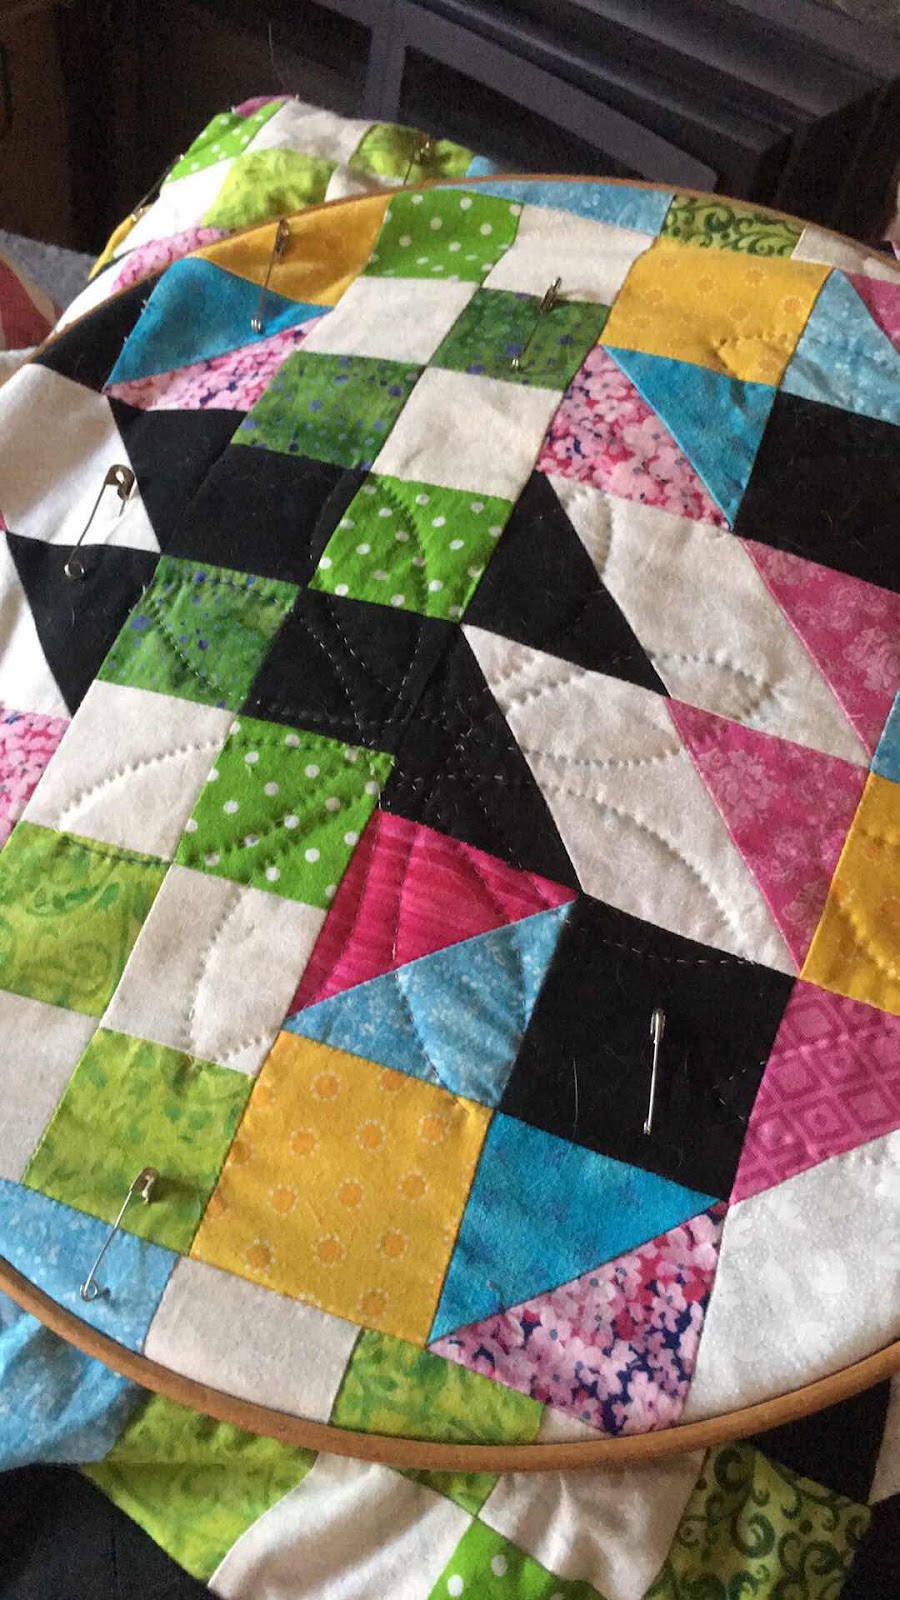
I’ve been placing the flowers randomly over the course of the last four years.


When I look back I really wonder why on earth I decided to spend so many hours on a quilt that would be difficult to quilt because of all the intersections and on one that I really didn’t love. I just kept telling myself I would patiently add the stitches and it will be a lifetime project with no deadline in mind. Right?  Wrong! Along came and impatient moment recently where I had enough of staring at it and having it stare back at me nagging me to work on it. Don’t get me wrong; I love hand quilting but I just think I chose the wrong project this time. So after a lot of debate and actually asking for advice from some online hand quilters I made the decision to finish it on my long arm. I really wondered if I would regret this decision. I found a motif that I could continue in a random fashion across the top of the quilt which I had hoped would have the same feeling as the motif that I had chosen to hand quilt. Loading the quilt onto my long arm was not as difficult as I thought it would be and before long I was happily quilting away adding  flower motifs to my quilt top.


It only took me a little bit over a day to finish it. As I continued quilting these randomly placed motifs I could see that there were some spots between motifs that  needed something in them but I didn’t want to put in a full motif as it would have stitched over an existing one. As it is there were a couple of close calls in fact boo-boos where there are stitches overlapping but I’m not letting the quilt police in the door and I warned my daughter who is  the recipient of the quilt that she would have to let go of some OCD tendencies to really enjoy this quilt. 

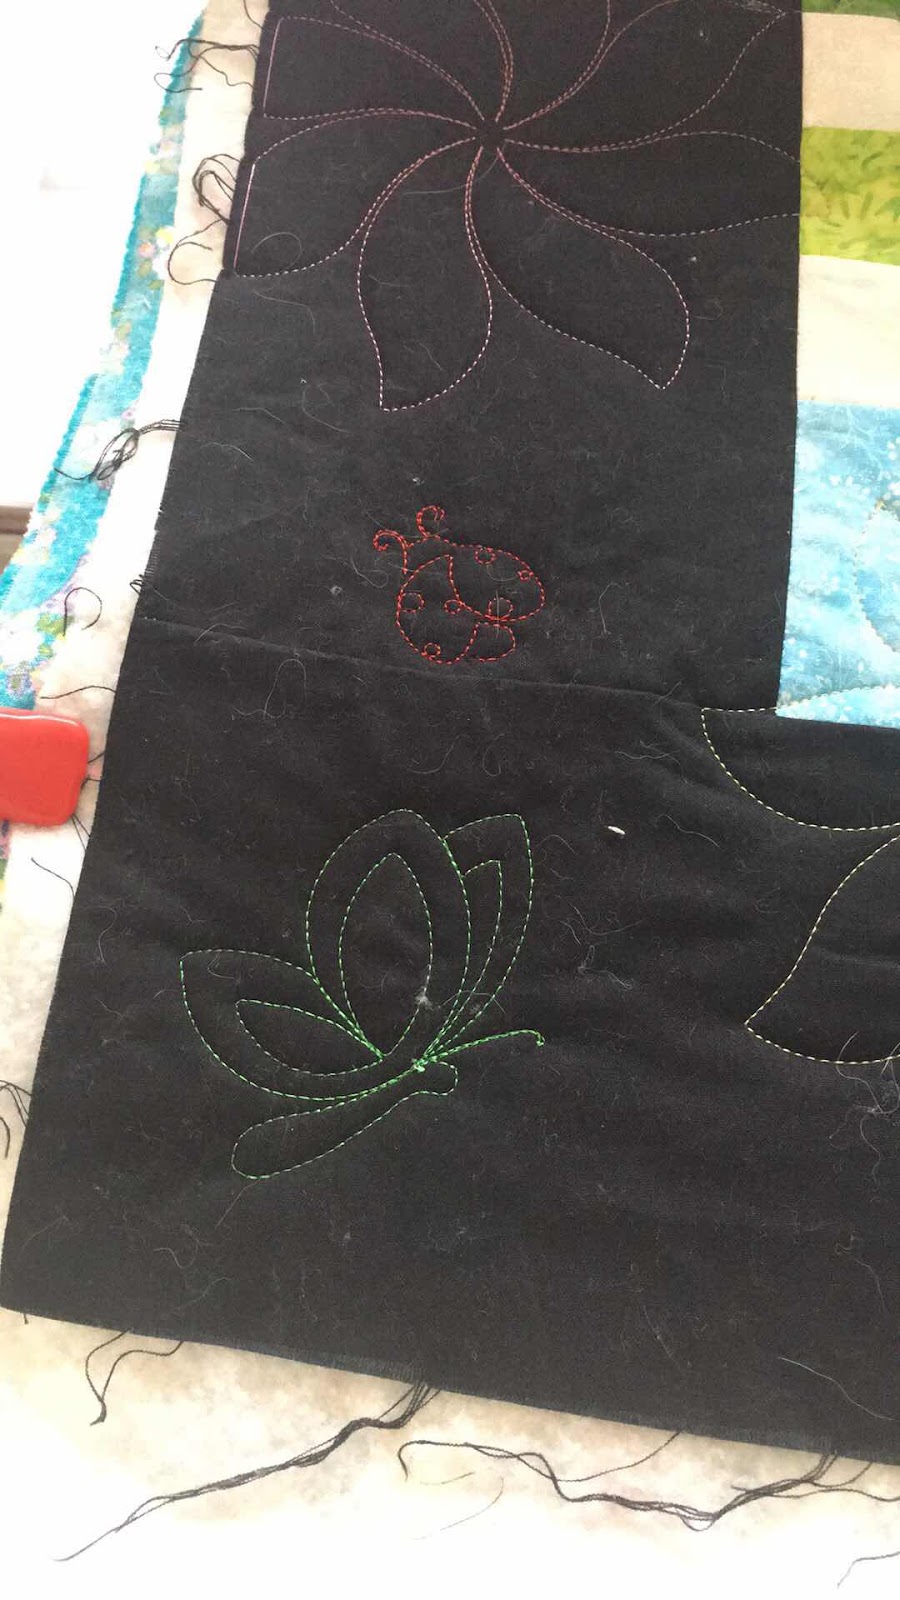
I found some cute little motifs of butterflies and ladybugs that I could make smaller and I also made some of the flowers smaller just to fill in those little spots that needed a little something to tie it all together. 


Above is a mixture of hand quilting and machine quilting. 

The end result is that I was able to finish the quilt and give it to my daughter to finish binding because she loves doing that, and the quilt is now living on her bed and she cherishes it. 


I’m delighted to have it done and out of the UFO pile. 

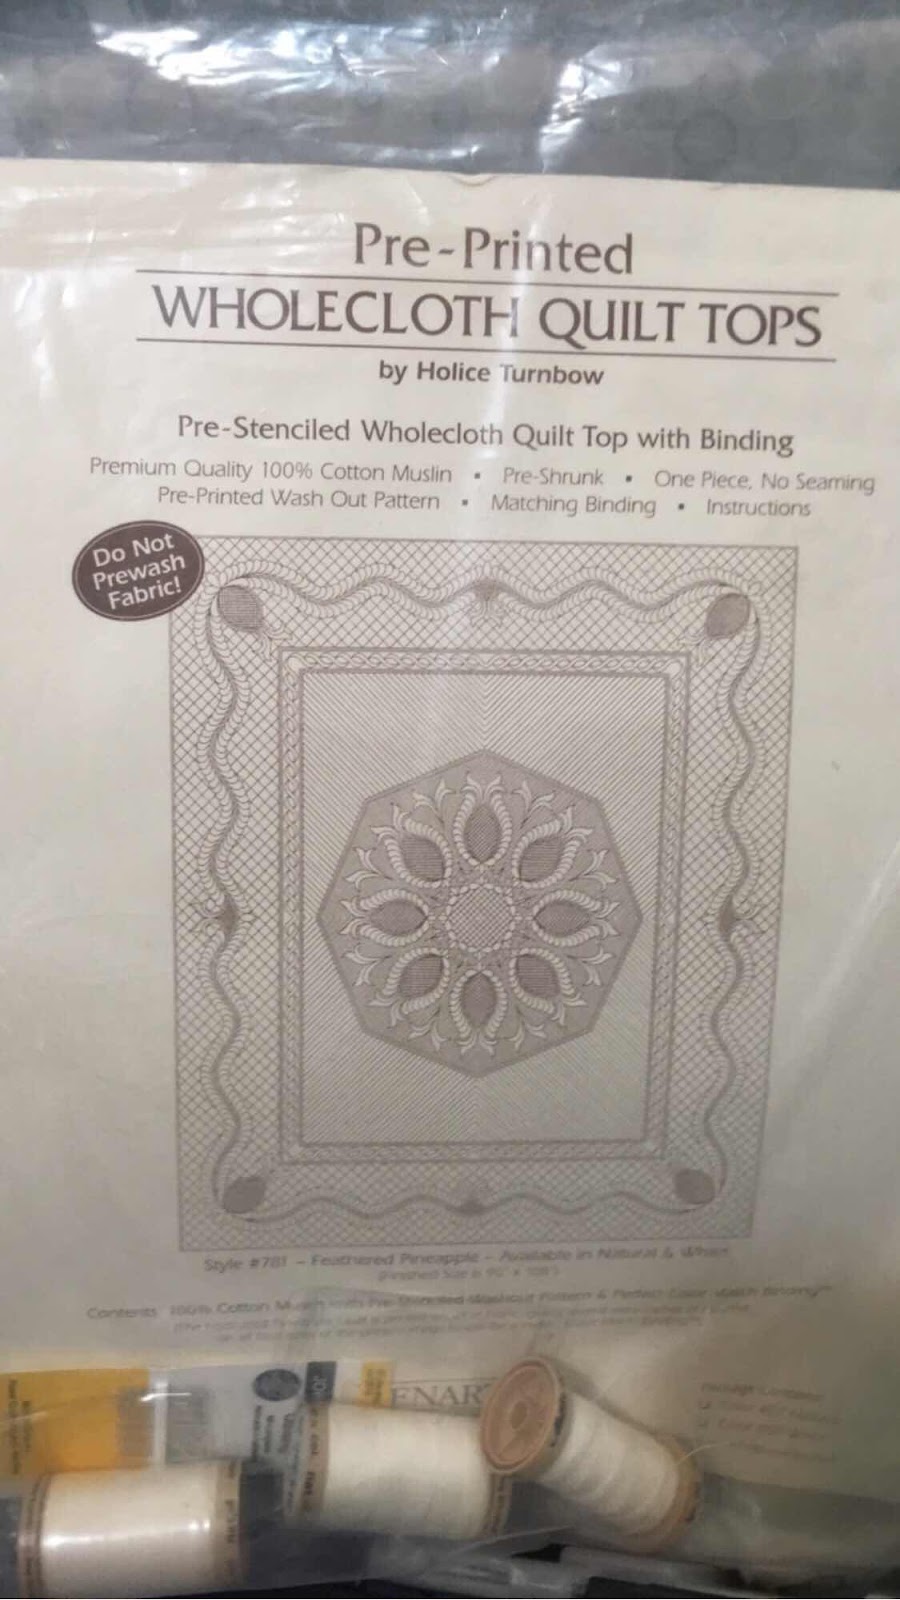
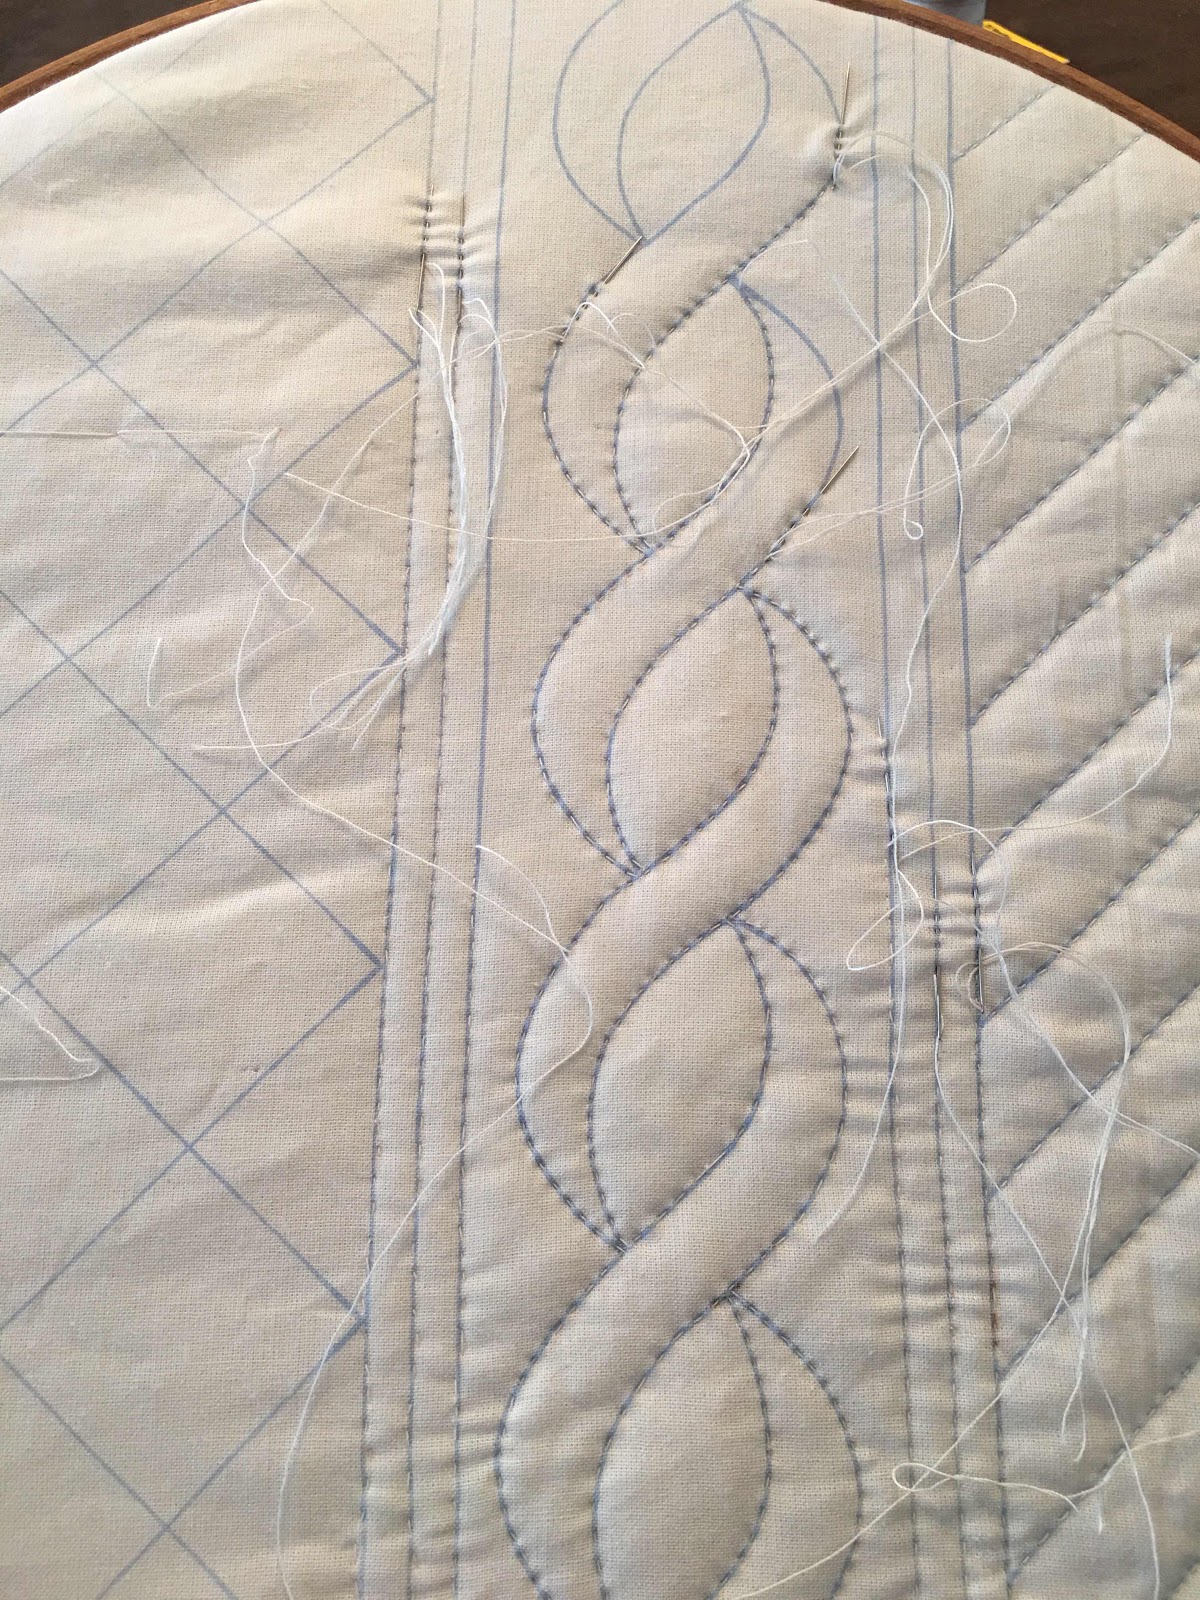
Bonus: I had in my closet a whole cloth quilt that I really wanted to work on but I couldn’t give myself permission until this project was completed. So now I have pulled out my whole cloth quilt and I’m happily adding my stitches to that project. And no intersections! 


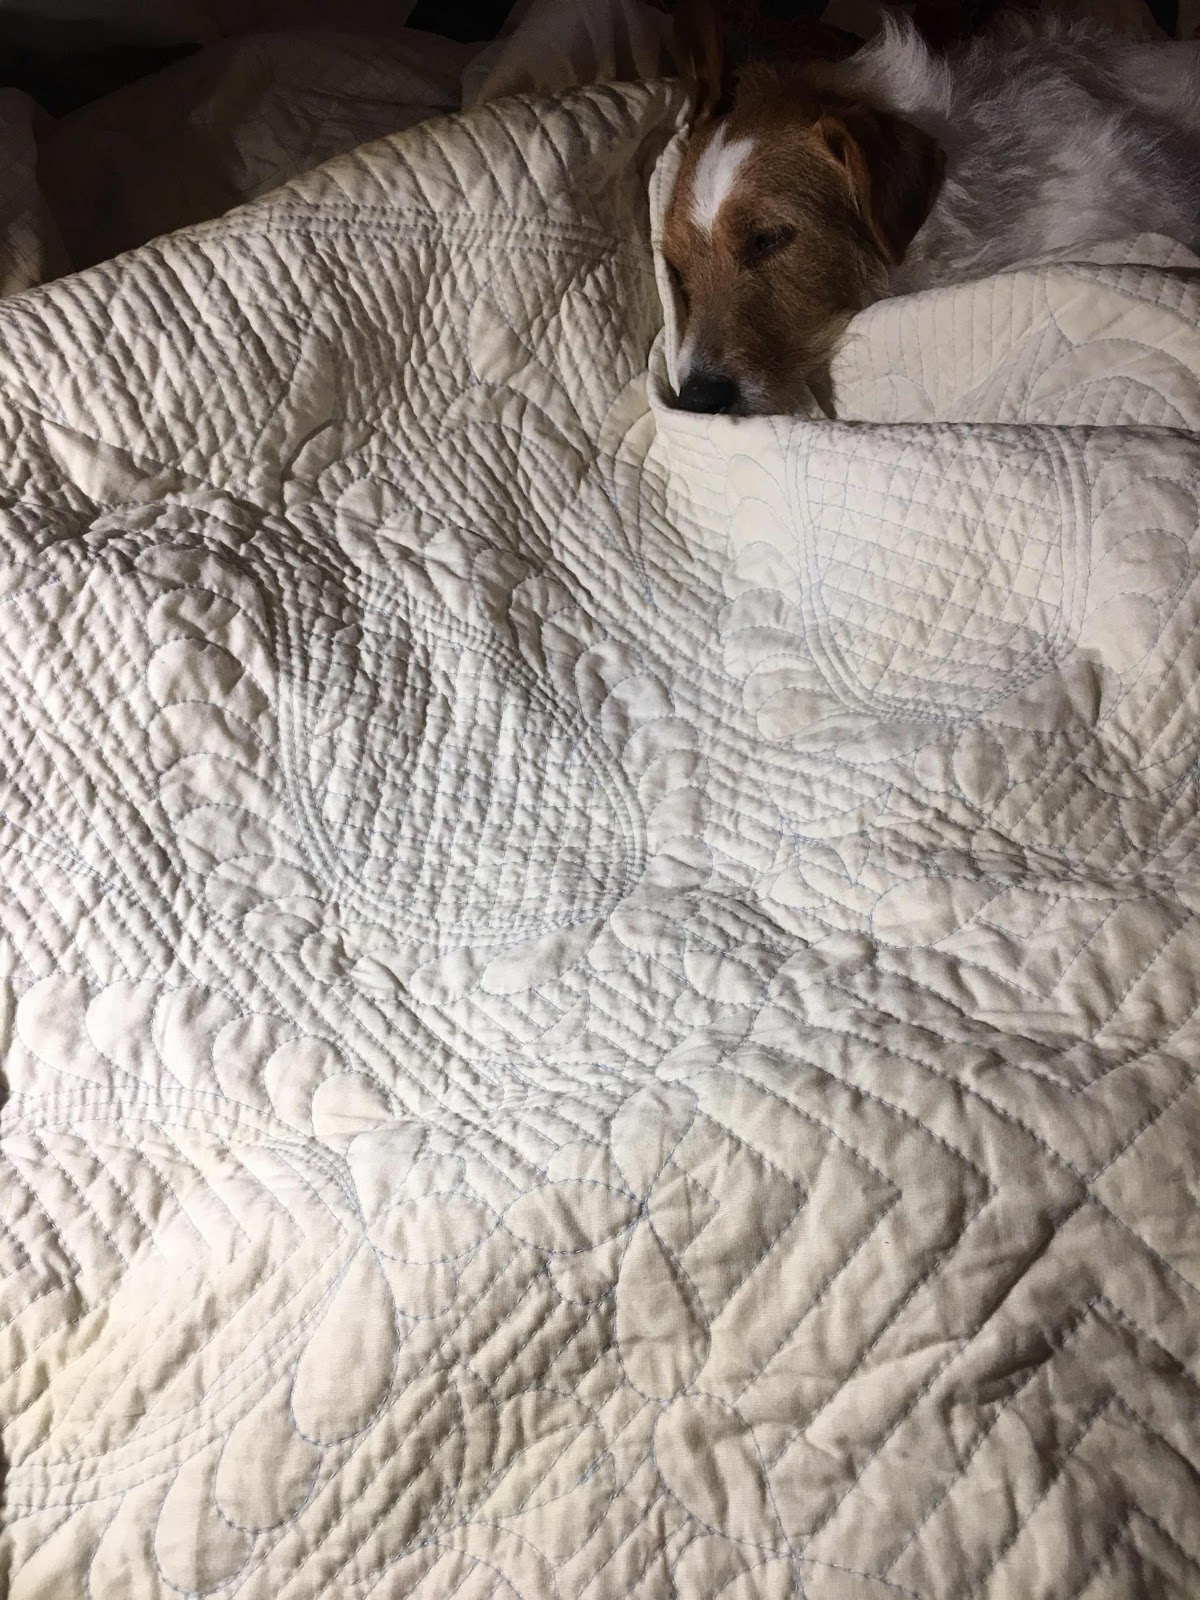
I didn’t start this quilt from scratch lest you think I’ve done all of this stitching. I actually purchased someone else’s UFO and am finishing it off. And Cooper is enjoying our time together. 


So that’s the story of how I finished my Grand Illusion mystery quilt UFO. I’m so happy to cross another long-standing project off the list.

Until next time, I’ve got some slow stitchin’ to keep me busy. 

Mavis